Properly groomed eyebrows can make a big difference in your overall appearance, helping to frame your face and balance your overall features. But here’s the thing: there’s no ‘one size fits all’ when it comes to shaping the brows. The shape that suits a round face may not work as well for an angular one—it’s all about achieving the right balance that flatters your unique facial structure. That’s where brow mapping comes in! Follow this step-by-step guide to effectively map your brows and achieve the perfectly shaped, symmetrical brows you've always wanted.
What Is Brow Mapping?
Brow mapping is a technique that helps determine the ideal shape of your eyebrows in harmony with your facial structure. Unlike using a brow stencil, brow mapping is completely personalised. It’s designed to create symmetry, balance your eyes, and define your face. When done right, it can even give the illusion of a lifted appearance around the eyes.
How To Map Your Brows
The right tools are the foundation of every good eyebrow shape. So, before you begin, make sure you have our Charcoal Mapping Thread on hand. Pre-inked for easy marking, it helps you outline your ideal brow shape with guided lines that can be easily wiped away when you’re done grooming. Intrigued? Let’s get mapping!
Step 1: Identify Key Brow Points
Every brow has three key points:
- The Head: The innermost part of the brow closest to your nose.
- The Arch: The highest point of your brow.
- The Tail: The outermost part of the brow near the corner of your eye.
Step 2: Find the Starting Point
Take the Charcoal Mapping Thread and hold it vertically against the side of your nose, aligning it with the inner corner of your eye. The spot where the thread meets your brow bone is where your eyebrow should begin.
Step 3: Locate the Arch
Rotate the thread outward at an angle, passing it over the outer edge of your iris (think of the thread as the hand of a clock). Where the thread intersects your brow bone is your natural arch. Keep your face shape in mind—more angular arches suit structured features, while softer curves work beautifully on rounder faces. (Need guidance? Check out our face shape guide here).
Step 4: Define the Tail
Move the thread further outward, lining it up with the outer corner of your eye. Where the thread meets the brow bone marks the tail end of your brow. This is where your brow should taper off naturally.
Step 5: Connect the Dots
Now that you’ve marked the head, arch, and tail, connect these points with straight lines using the mapping thread—both along the top and bottom of your brow. This outline becomes your “map,” showing which hairs to keep inside the lines and which to remove outside them.
Step 6: Groom and Fill
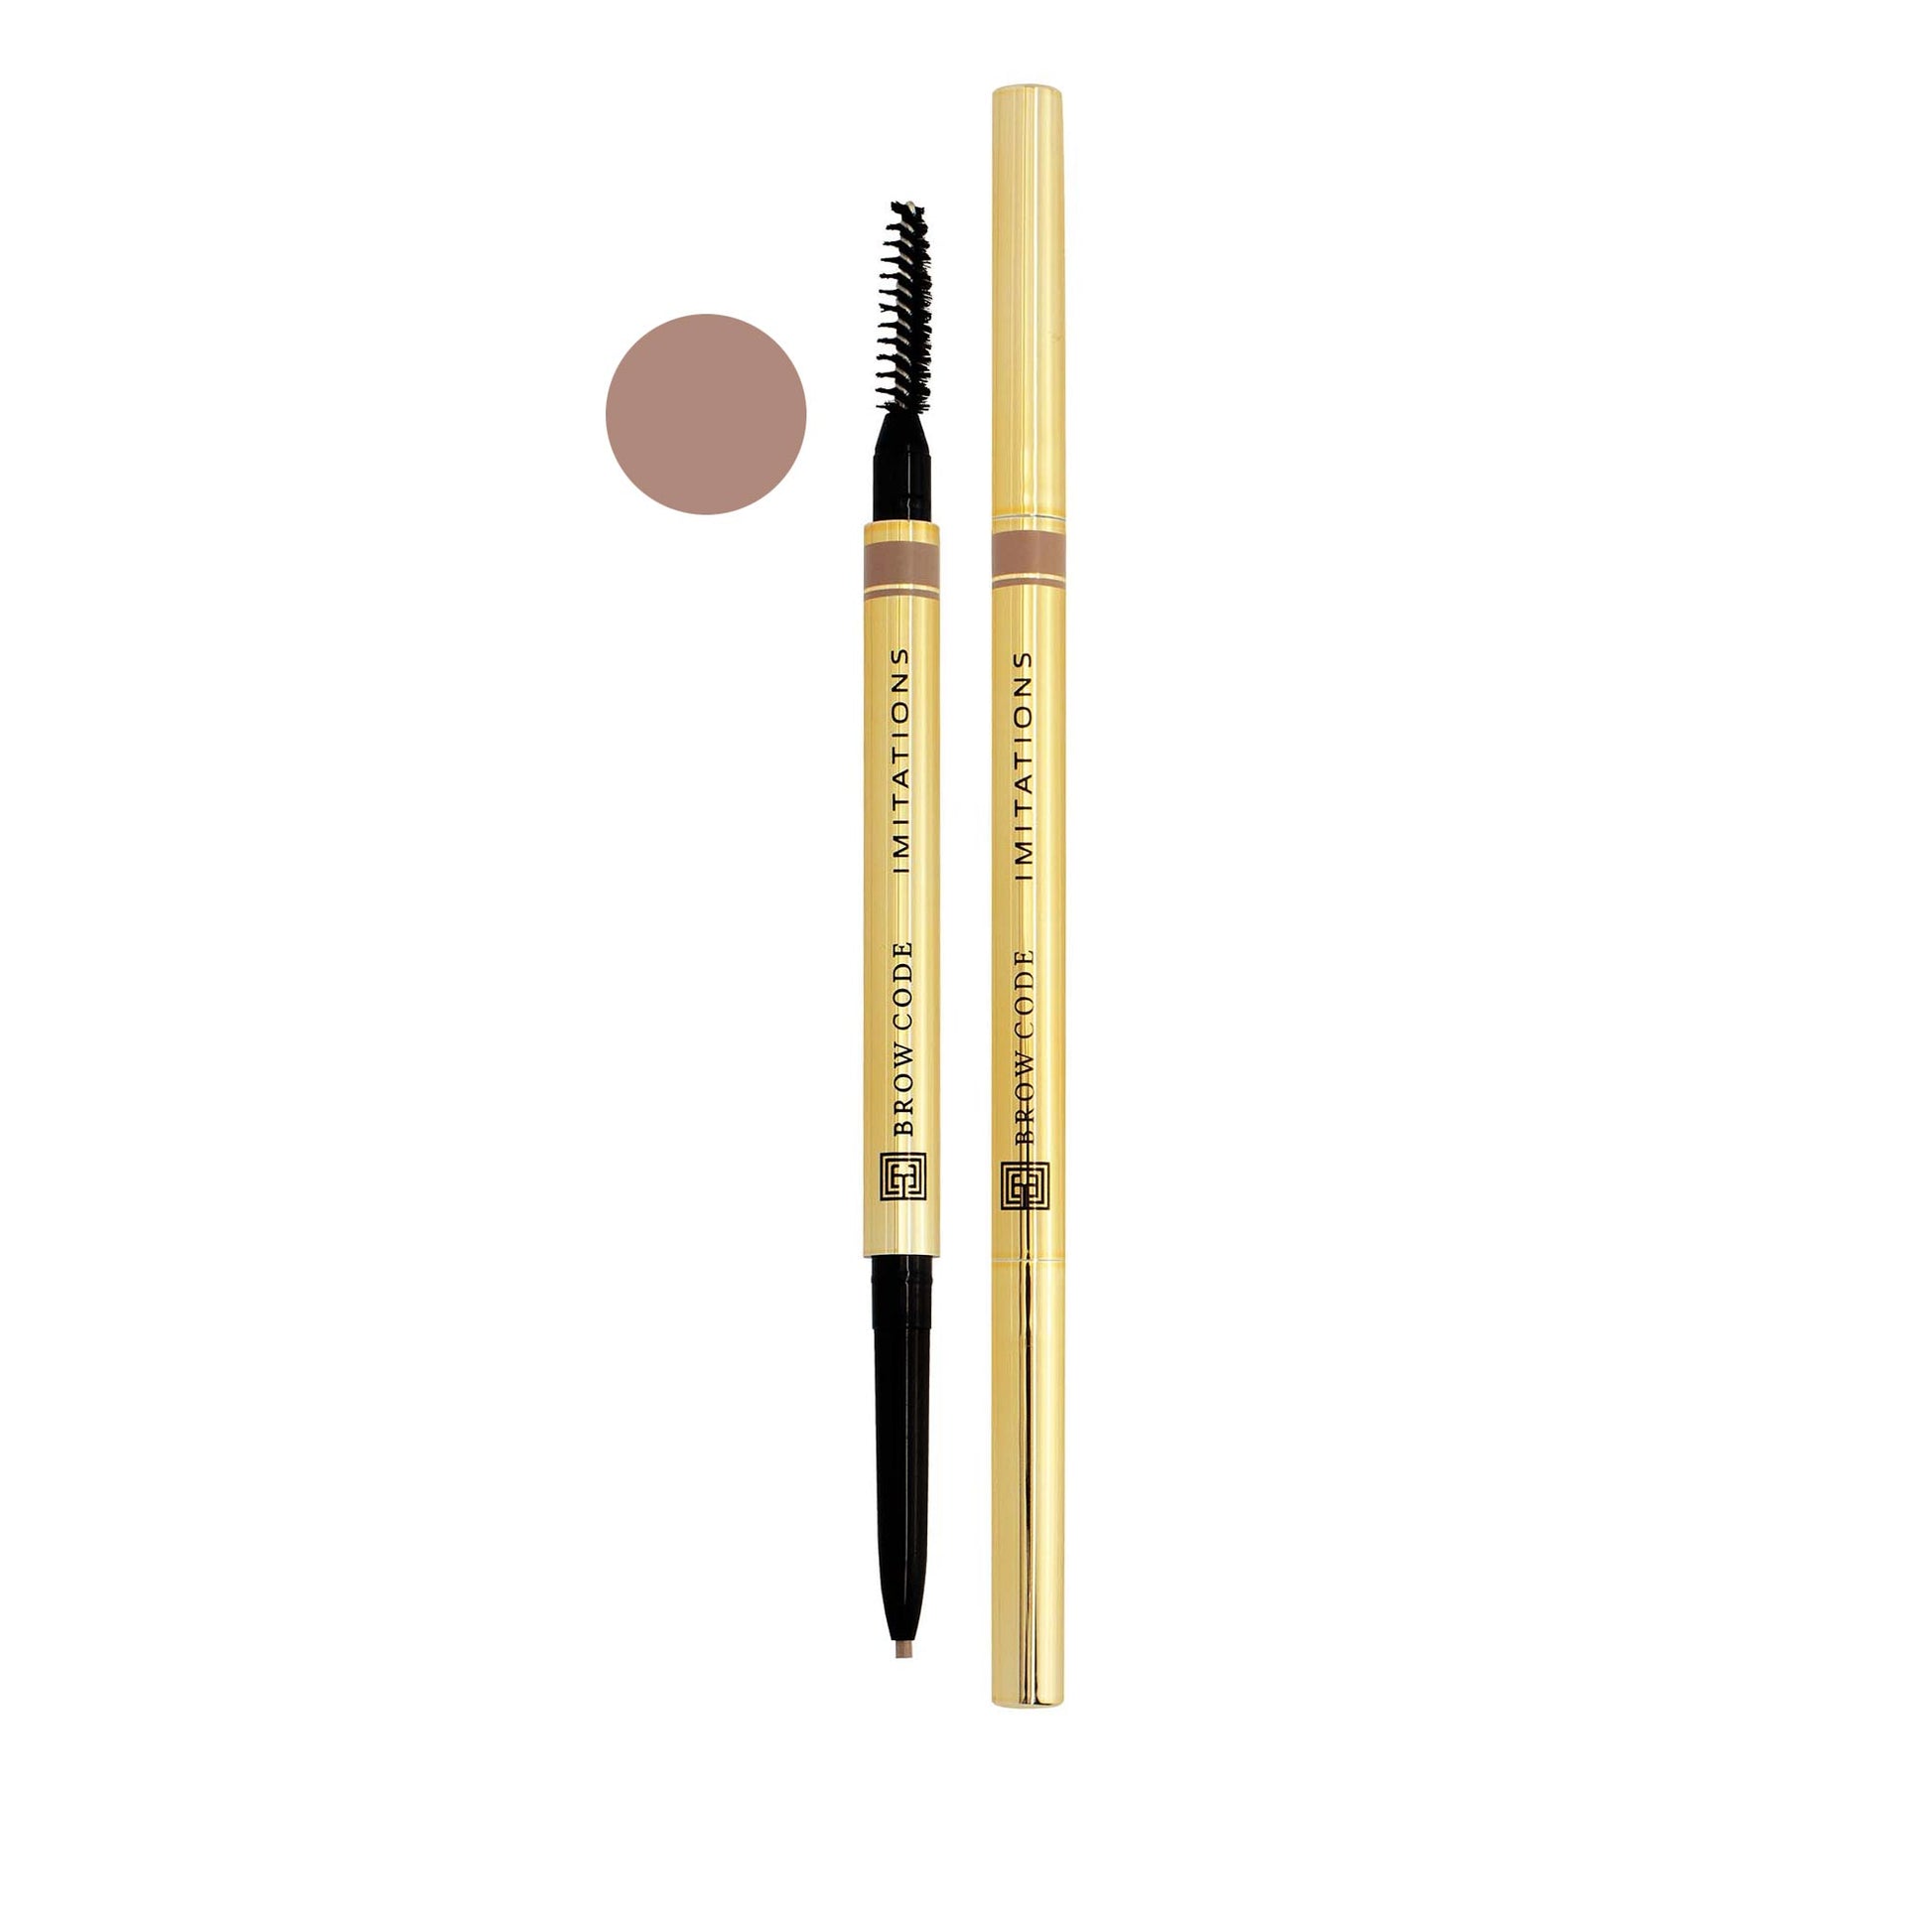
Using tweezers and trimming scissors, carefully clean up any stray hairs outside your mapped lines. Once the area is tidy, remove the thread markings with a damp cotton pad. Fill in any sparse areas using short, hair-like strokes with the Imitations Micro Brow Pencil, keeping the natural brow shape in mind: thicker at the head, gradually tapering towards the tail.
And just like that, you’ve created beautifully symmetrical brows. Whether you’re grooming for everyday perfection or prepping for a big event, brow mapping helps you achieve a polished, balanced look tailored to your face.

